the grey tabby

musings of a girl and her grey tabby


1 Comment

Thirty before 30 Update! Homemade Dill Pickles

I’ll admit… I haven’t been keeping up with my Thirty before 30 list like I wanted to. But I won’t be turning 30 until the end of May next year so I have about 8 months to go. I guess that makes me feel a little better! Anyway, I just wanted to give everyone an update.
Thirfy before 30
I still haven’t finished coming up with a list of all 30 things I’d like to accomplish. So far, I’ve come up with 21 items (view the list here) and I also got some fantastic suggestions from my readers. So I’ll be updating the list soon (hopefully) to make it a full 30.

I HAVE, however, checked off a couple of items so far. One of which is item #4: Make homemade pickles.
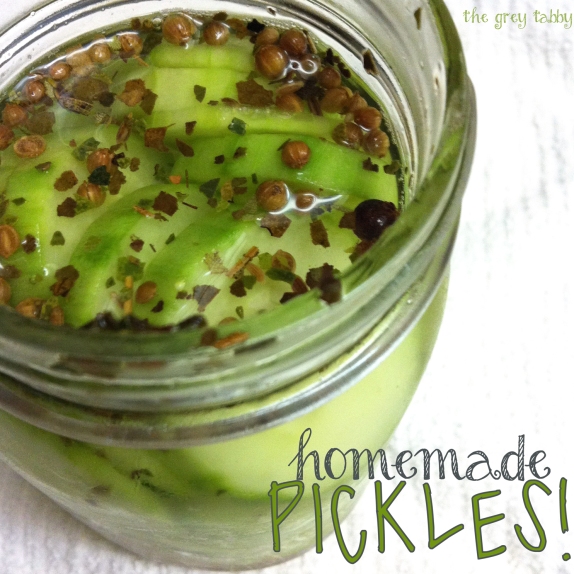
Homemade Pickles!

I checked Pinterest (of course) for recipes and most of them required you to actually do some canning…which meant I’d have to wait at least a week or so to try my yummy pickles. It seemed way too impossible for me to wait that long. Luckily, I found a recipe for “Quick Refrigerator Pickles,” which said your pickles would be ready after 24 hours. BINGO! Sounds like my kind of recipe!

I found the recipe here. I didn’t follow the recipe exactly… In fact, I barely followed it. There was absolutely nothing wrong with the recipe; it looks great! But I didn’t have most of the items on hand and I was really just winging it. I didn’t go out and buy “pickling” cucumbers; my mother-in-law hosted a family gathering and sliced up a TON of cucumbers for salad. She ended up having way too many so I took a cupful home.

Instead of buying all the different spices & fresh dill, I bought a pre-made mix of pickling spices and some pickling salt. The pickling spice is a mix of mustard seed, dill seed, bay leaves, coriander, chiles, and allspice.
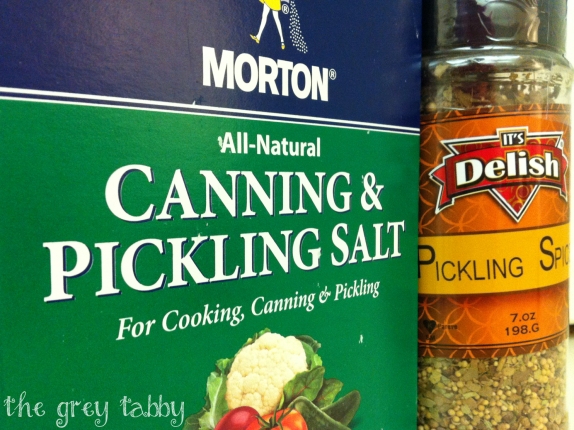
Homemade Pickle Supplies
I didn’t have too many cucumber slices so I only used one pint sized jar (which was still a bit big for the amount of cucumbers I had). I added about a tablespoon of the pickling spices, 1 1/2 tablespoons of pickling salt, 1 tablespoon organic sugar, 2/3 cup white vinegar, and 1 cup of filtered water to my jar. I closed it and shook the jar until the sugar dissolved. In a separate jar, I packed in my cucumber slices and poured my liquid mixture on top of the cucumbers. There was too much liquid so I couldn’t use it all. I just made sure that the cucumber jar had all of the spices, even if I couldn’t use all of the liquid. I sealed it up and stuck it in the fridge.

I waited exactly 24 hours (ha! I’m totally not lying. I was practically counting down the minutes!) and popped that jar open right away. OH MY GOD. I fell in love. I ate almost the whole jar within about 5 minutes. I guess that’s a good thing since this recipe isn’t made for pickles that are meant to be canned and stored for long periods of time.

I’ll definitely be making more and will be making jars for my pickle-loving friends. You should give them a try, too, and let me know how they come out! You can also experiment with adding different spices/ingredients, like garlic or jalapeño peppers. Or you can try pickling other foods besides cucumbers, like pickled garlic (one of my FAVES!), asparagus, green beans, onions, cabbage… The possibilities are endless! Comment below and let me know all about your adventures!

Oh and just a reminder! Make sure to enter my giveaway to win an oh-so cute kitty mug! The contest ends tomorrow, Friday, September 28th!
Enter to Win a Kitty Cat Mug Now!


5 Comments

Free Kitchen Printables – Eat, Drink, and Be Merry

Happy Monday! No, I’m not normally super happy & giddy on Mondays but today, I feel a little more sunshine-y because I have some goodies for you.

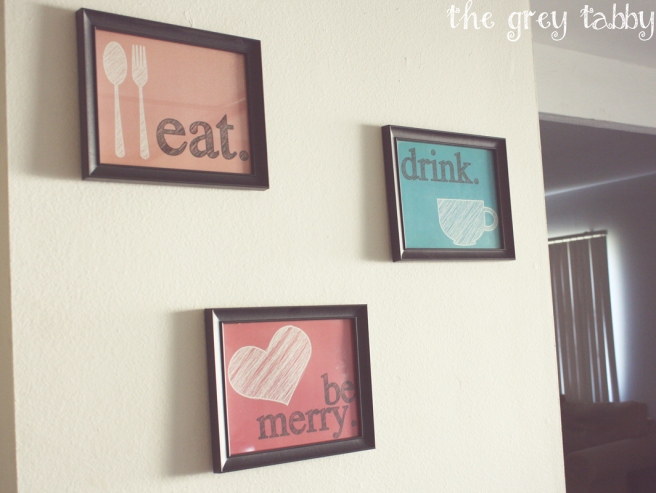
Last week, I was working on some wedding goodies for my wedding shop on Etsy. I was making an “Eat, Drink, and Be Married” design for a client and a light bulb went off. I should make something like this for our home! So, I decided to make some prints for our kitchen :)

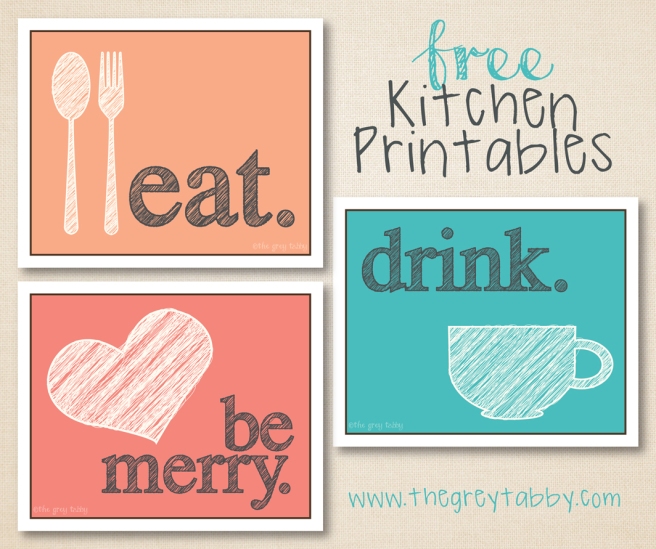
Free Kitchen Printables from thegreytabby.com - Eat. Drink, and Be Merry

Sharing is caring so I decided to make these prints available as FREE downloads for all of you guys and gals!
Free Kitchen Printables - Eat, Drink, & Be Married

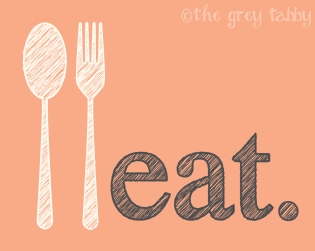
You can download the files by clicking on the pictures below. They’re all 8″ x 10″ PDFs and you’ll need Acrobat Reader to view them. You can print them on regular old card stock (8.5″ x 11″) without having to scale or shrink the images. Then, trim, frame, and, well, eat, drink, and be merry!

Free Kitchen Printables from thegreytabby.com - Eat, Drink, and Be Merry Free Kitchen Printables from thegreytabby.com - Eat, Drink, and Be Merry

Free Kitchen Printables from thegreytabby.com - Eat, Drink, and Be Merry Free Kitchen Printables from thegreytabby.com - Eat, Drink, and Be Merry

Fine print: these prints are for personal use only. If you love ’em, share the link to ’em! But please don’t sell them. Thanks!!


2 Comments

Freebie Friday – To My Husband: A Printable Love Note Card

Happy Friday! The past couple of days have been oh-so-fun because Wednesday was my hubby’s 30th birthday. Yep, the big 3-0! We’ve had loads of fun so far and a lot more fun planned for this weekend. But I’ll post more about that next week so keep your eyes open for pics!

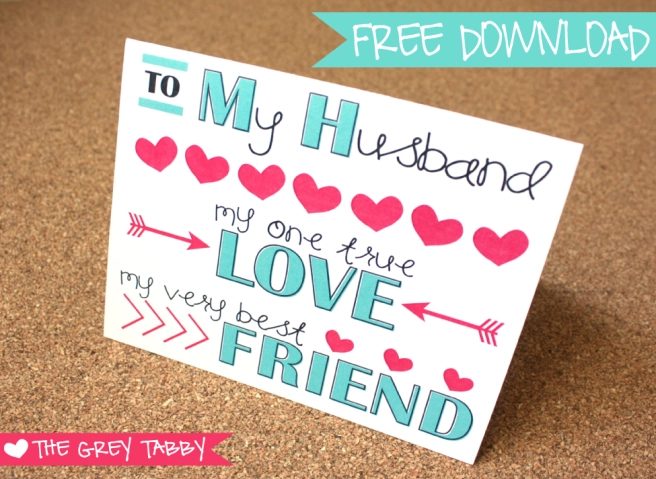
Now, let’s get to why I named this post Freebie Friday. It’s because I have a freebie for you guys! I made a birthday card for my husband and posted it on Instagram. My caption was “Handmade cards rule and store-bought cards drool.” That’s the truth, right?? :) Anyway, when I posted the card on Instagram, I got quite a response from my followers. So I decided to make it available as a free printable!
Freebie Printable Card - To My Husband: A Love Note Card
The card is blank on the inside so you can give it to your hubby for his birthday, your anniversary, Valentine’s Day, or you can stick it in his lunch box on a plain ol’ Tuesday before he leaves for work. You can download it here:
Free Printable - To My Husband: A Love Note Card

The file is a PDF and you’ll need Acrobat Reader to view it. You can print it on regular old card stock (8.5″ x 11″) without having to scale or shrink the image. Then, cut & fold along the lines. The finished size is A2 (5.5″ x 4.25″). Enjoy!

Fine print: this card is for personal use only. If you love it, share the link to it! But please don’t sell it. Thanks!!


Leave a comment

DIY: Carved Rubber Stamp Tutorial

I just LOVE rubber stamps! I love how you can reuse them over and over again to decorate greeting cards, stationary, mailing supplies, gift wrap, and countless other things.  And, when I learned how to make my own, I was so excited!

DIY Carved Rubber Stamp
Now I can make whatever design I’d like and, what’s even better, it’s pretty darn easy to make them! Here’s what you’ll need:
DIY Carved Stamp Supplies

Rubber block

Pencil

Bone folder

Lino carving tool with wooden handle (can be found at most craft supply stores)

A cute design

Tracing paper (not pictured)

X-Acto knife & cutting mat (not pictured)

When you have your design printed out, trace it onto tracing paper using a pencil. Lay your tracing face down on your rubber block and gently press it down using your bone folder to transfer the image. If you don’t have a bone folder, you can always use the dull side of a butter knife or any other flat object you might have in your craft room.

Use your X-Acto knife to trim down the block, centering your image. Then, begin your carving! Remember to carve on top of your cutting mat, just in case your hand slips. You don’t want to ruin any table surfaces!

DIY Carved Stamp
DIY Carved Stamp

And ta-da! This is what it’ll look like when you’re done. Don’t worry about the pencil marks, though. They’ll gradually fade after a few uses.

Have you carved any stamps yourself? I’d love to see them! Just comment below with a link to your pictures <3

Ooh! And don’t forget to enter my giveaway! It ends this weekend so be sure to enter now:
http://thegreytabby.com/2012/08/05/giveaway/

Craft on, friends!


3 Comments

DIY Photo Canvas Print

Hello & Meow, friends!

Last weekend, I found a tutorial on, where else? Pinterest! I loved it so much that I decided to try it out and when I finished, a few people asked me how to make it. So I decided to share it with all of you!

Prints on canvas look SO great but they’re equally expensive! Using this print transfer method, you can save loads of money and have pride in saying that you made it yourself.

First off, you need your supplies:

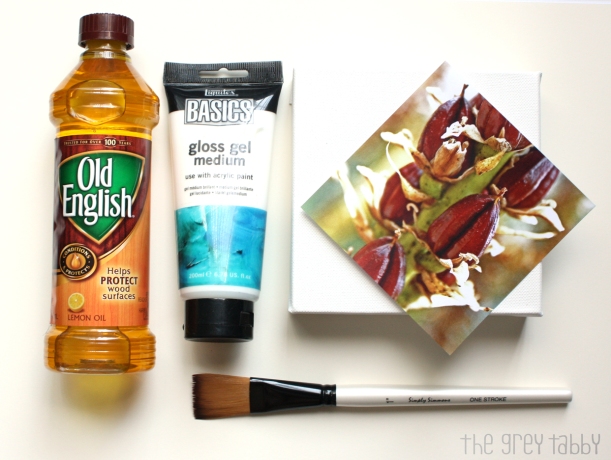
L to R: wood furniture polish (odd but yes, I’ll explain why!), gel medium, paint brush, wrapped canvas, and a reversed image photocopy of a picture

I was lucky to find the gel medium on clearance for only $1.50 (retail was $7.95) and I got a 4 pack of 6×6 canvases for only $7.50, thanks to coupons! As for the photo, I chose a picture that I took at the Huntington Library a couple years ago. I decided to print a 5×5 image (to get a 0.5 inch white border on the sides). Be sure to reverse the image! We’ll be placing the image face down on the canvas so it’ll come out how you originally shot the photo.

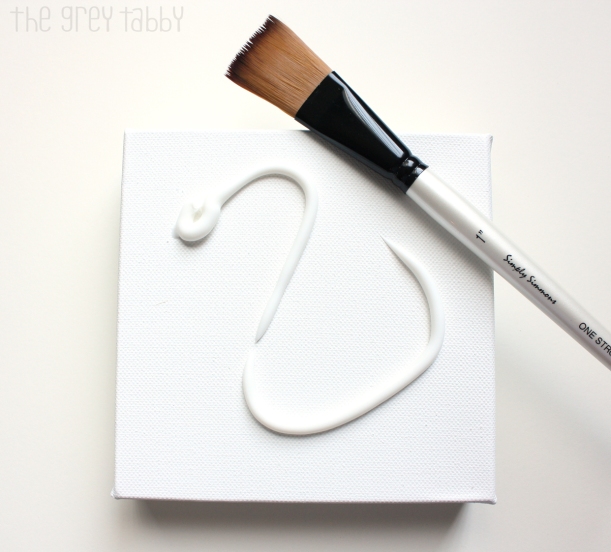
First, apply and spread some of the gel medium with your paint brush. Spread it nice & even without leaving too much excess.

I added a tad bit too much gel medium here. Oops!

Place your picture face down in the center of the canvas and press the image firmly into the canvas. Then, grab a cup of tea, surf Pinterest for a bit, and let your canvas dry overnight!

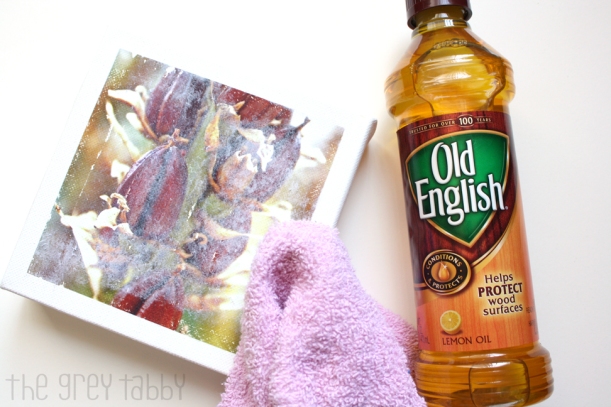
After you’ve let your canvas dry, spray it with some water and start softly rubbing the paper off with your finger or a cloth. The harder you rub or the coarser the object you use to remove the paper (cloth or sponge), you risk removing some of the ink. Sometimes that’s a good thing; it’ll make your photo look weathered and vintage!

Once you’ve removed most of the paper, you’ll notice that the photo still looks a little cloudy with some paper residue still stuck on. That’s where the wood polish comes in! Just dab some of it on a cloth and wipe down the canvas. The picture will look crystal clear afterward.

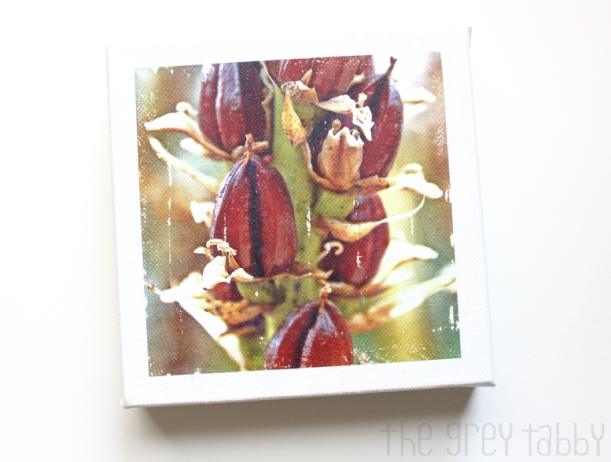
And voilà! You got yourself an awesome canvas print! Hang it with pride and when your friends ask you where you purchased your oh-so-gorgeous canvas, flash them a huge smile and say “I made it myself!”

I love the weathered work so I used a rough washcloth to wipe the paper off of my canvas. I even scratched it with my nails a little. Love the vintage look!