the grey tabby

musings of a girl and her grey tabby


1 Comment

Eye Make-Up for Gals with Glasses

Do you wear glasses? I do and I LOVE them. I’m really serious when I say I LOVE them. I love glasses, different kinds of glasses, kids with glasses, items screen printed with glasses images, pets with glasses, glasses-shaped jewelry; I love it all! And perhaps I’ll make a post in the future about my love for sexy specs…

A minor problem I have with glasses, though, is how to apply eye makeup for nights when I’m wearing my glasses. I always wonder if I’m wearing too much makeup or too little. (It’s pretty tough for me to apply the makeup, too, because I’m extremely near-sighted and I need to practically plaster my face onto the mirror just so I can see what I’m doing… But that’s a whole other issue!)

Anyway, I was pretty excited when I stumbled upon this makeup YouTube tutorial made specifically for gals with glasses. The user who made the video (MichellePhan) is very informative and I LOVE her makeup. I guess it also helps that she’s gorgeous naturally, too!

Check it out here:


I’m a little iffy over the false eyelashes (mainly because I’m scared of them…Ha!)  but I’ll definitely try this out the next time my hubby takes me out for a night on the town!


Leave a comment

DIY: Carved Rubber Stamp Tutorial

I just LOVE rubber stamps! I love how you can reuse them over and over again to decorate greeting cards, stationary, mailing supplies, gift wrap, and countless other things.  And, when I learned how to make my own, I was so excited!

DIY Carved Rubber Stamp
Now I can make whatever design I’d like and, what’s even better, it’s pretty darn easy to make them! Here’s what you’ll need:
DIY Carved Stamp Supplies

Rubber block

Pencil

Bone folder

Lino carving tool with wooden handle (can be found at most craft supply stores)

A cute design

Tracing paper (not pictured)

X-Acto knife & cutting mat (not pictured)

When you have your design printed out, trace it onto tracing paper using a pencil. Lay your tracing face down on your rubber block and gently press it down using your bone folder to transfer the image. If you don’t have a bone folder, you can always use the dull side of a butter knife or any other flat object you might have in your craft room.

Use your X-Acto knife to trim down the block, centering your image. Then, begin your carving! Remember to carve on top of your cutting mat, just in case your hand slips. You don’t want to ruin any table surfaces!

DIY Carved Stamp
DIY Carved Stamp

And ta-da! This is what it’ll look like when you’re done. Don’t worry about the pencil marks, though. They’ll gradually fade after a few uses.

Have you carved any stamps yourself? I’d love to see them! Just comment below with a link to your pictures <3

Ooh! And don’t forget to enter my giveaway! It ends this weekend so be sure to enter now:
http://thegreytabby.com/2012/08/05/giveaway/

Craft on, friends!


3 Comments

DIY Photo Canvas Print

Hello & Meow, friends!

Last weekend, I found a tutorial on, where else? Pinterest! I loved it so much that I decided to try it out and when I finished, a few people asked me how to make it. So I decided to share it with all of you!

Prints on canvas look SO great but they’re equally expensive! Using this print transfer method, you can save loads of money and have pride in saying that you made it yourself.

First off, you need your supplies:
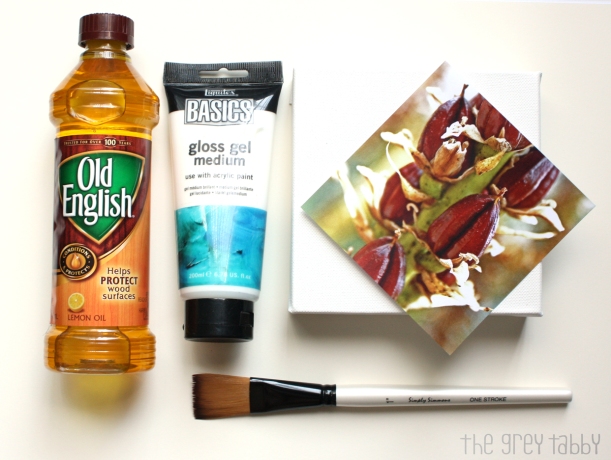
L to R: wood furniture polish (odd but yes, I’ll explain why!), gel medium, paint brush, wrapped canvas, and a reversed image photocopy of a picture

I was lucky to find the gel medium on clearance for only $1.50 (retail was $7.95) and I got a 4 pack of 6×6 canvases for only $7.50, thanks to coupons! As for the photo, I chose a picture that I took at the Huntington Library a couple years ago. I decided to print a 5×5 image (to get a 0.5 inch white border on the sides). Be sure to reverse the image! We’ll be placing the image face down on the canvas so it’ll come out how you originally shot the photo.

First, apply and spread some of the gel medium with your paint brush. Spread it nice & even without leaving too much excess.
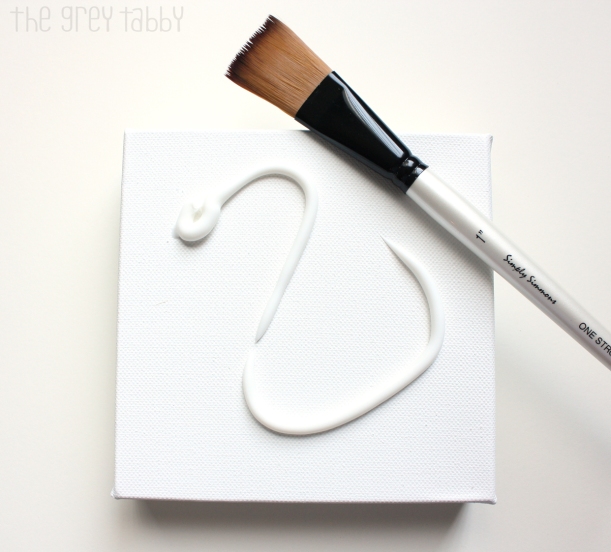
I added a tad bit too much gel medium here. Oops!

Place your picture face down in the center of the canvas and press the image firmly into the canvas. Then, grab a cup of tea, surf Pinterest for a bit, and let your canvas dry overnight!

After you’ve let your canvas dry, spray it with some water and start softly rubbing the paper off with your finger or a cloth. The harder you rub or the coarser the object you use to remove the paper (cloth or sponge), you risk removing some of the ink. Sometimes that’s a good thing; it’ll make your photo look weathered and vintage!

Once you’ve removed most of the paper, you’ll notice that the photo still looks a little cloudy with some paper residue still stuck on. That’s where the wood polish comes in! Just dab some of it on a cloth and wipe down the canvas. The picture will look crystal clear afterward.
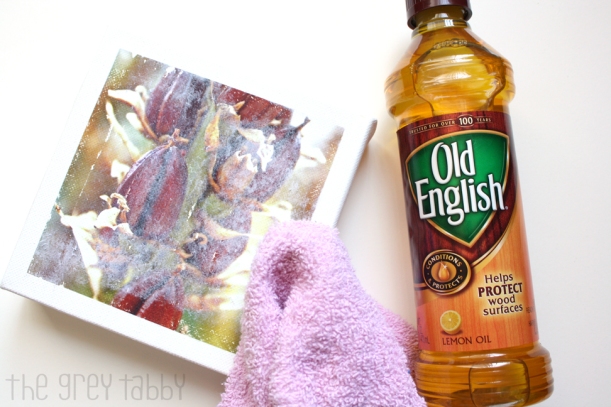
And voilà! You got yourself an awesome canvas print! Hang it with pride and when your friends ask you where you purchased your oh-so-gorgeous canvas, flash them a huge smile and say “I made it myself!”
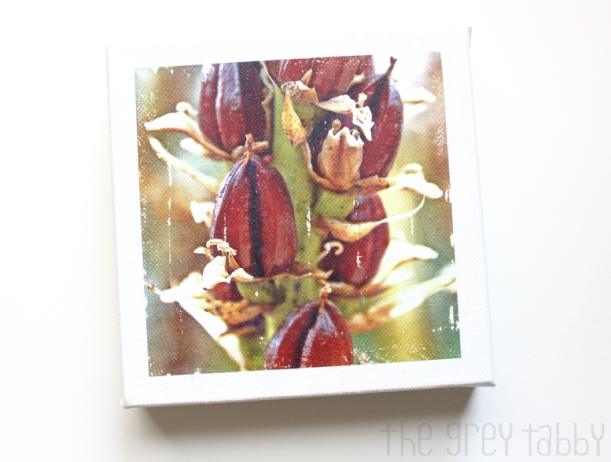
I love the weathered work so I used a rough washcloth to wipe the paper off of my canvas. I even scratched it with my nails a little. Love the vintage look!